

How to Upcycle Household Items Into Home Decor (That Actually Looks Good)
Upcycled home decor has a reputation problem. When most people hear the phrase, they picture crafts that look more 'made by a third grader' than 'styled for a design blog.' But that's not what thoughtful upcycling actually looks like.
Done well, upcycled decor is indistinguishable from something you'd find at a boutique home goods store — except it cost you almost nothing and didn't add to landfill.
Here's a practical look at how to upcycle common household items into decor you'll actually want to display.
Why Upcycled Decor Works (When You Approach It Right)
The difference between upcycled decor that looks chic and upcycled decor that looks like a school project almost always comes down to three things: surface treatment, consistency, and intention.
Surface treatment means finishing your piece so it looks deliberate — paint, stain, decoupage, or fabric wrapping that transforms the base material. Consistency means grouping similar items together so they read as a collection, not clutter. Intention means asking 'where will this live and what job will it do?' before you start.
With those three principles in mind, almost anything can become something beautiful.
Household Items Worth Upcycling (And What to Make With Them)
Glass Jars and Bottles
This is one of the most versatile upcycling materials you probably already have in abundance. Mason jars, pasta sauce jars, wine bottles, and olive jars all have great shapes that work beautifully as vases, candle holders, or organizers.
To elevate them beyond 'jar on a shelf,' try: painting the interior with chalk paint for a matte, opaque look; wrapping the exterior in twine or leather cord; frosting the glass with frosted glass spray; or grouping three jars of different heights together on a small tray.
Cardboard Boxes and Tubes
Cardboard gets an unfair reputation as low-value material, but it's incredibly structural and takes paint beautifully. Cereal boxes, shoe boxes, paper towel tubes, and shipping boxes can all be transformed.
Sturdy boxes wrapped in kraft paper, fabric, or decorative paper make excellent storage boxes that look like they belong on a shelf at a home goods store. Toilet paper and paper towel tubes, cut and arranged in a honeycomb pattern inside a frame, become a wall-mounted organizer. Thick cardboard, cut and layered, can even be shaped into sculptural wall art.
Old Books
Books with damaged covers, water stains, or outdated content still have tremendous decorative value. Stacked and tied with ribbon, they become a riser for smaller objects. Arranged by spine color, they create a visual gradient on a shelf. Hollowed out, they hide small valuables or remote controls.
Old hardcovers with worn covers are especially beautiful — the aged texture reads as intentionally vintage when displayed well.
Fabric Scraps and Old Clothing
Worn-out clothing and fabric scraps are incredibly versatile decor materials. They can be braided into small rugs, cut into fringe for wall hangings, sewn into patchwork pillow covers, or used to upholster small furniture pieces like footstools.
Natural fabrics — linen, cotton, wool — age beautifully and look particularly good in upcycled home decor contexts.
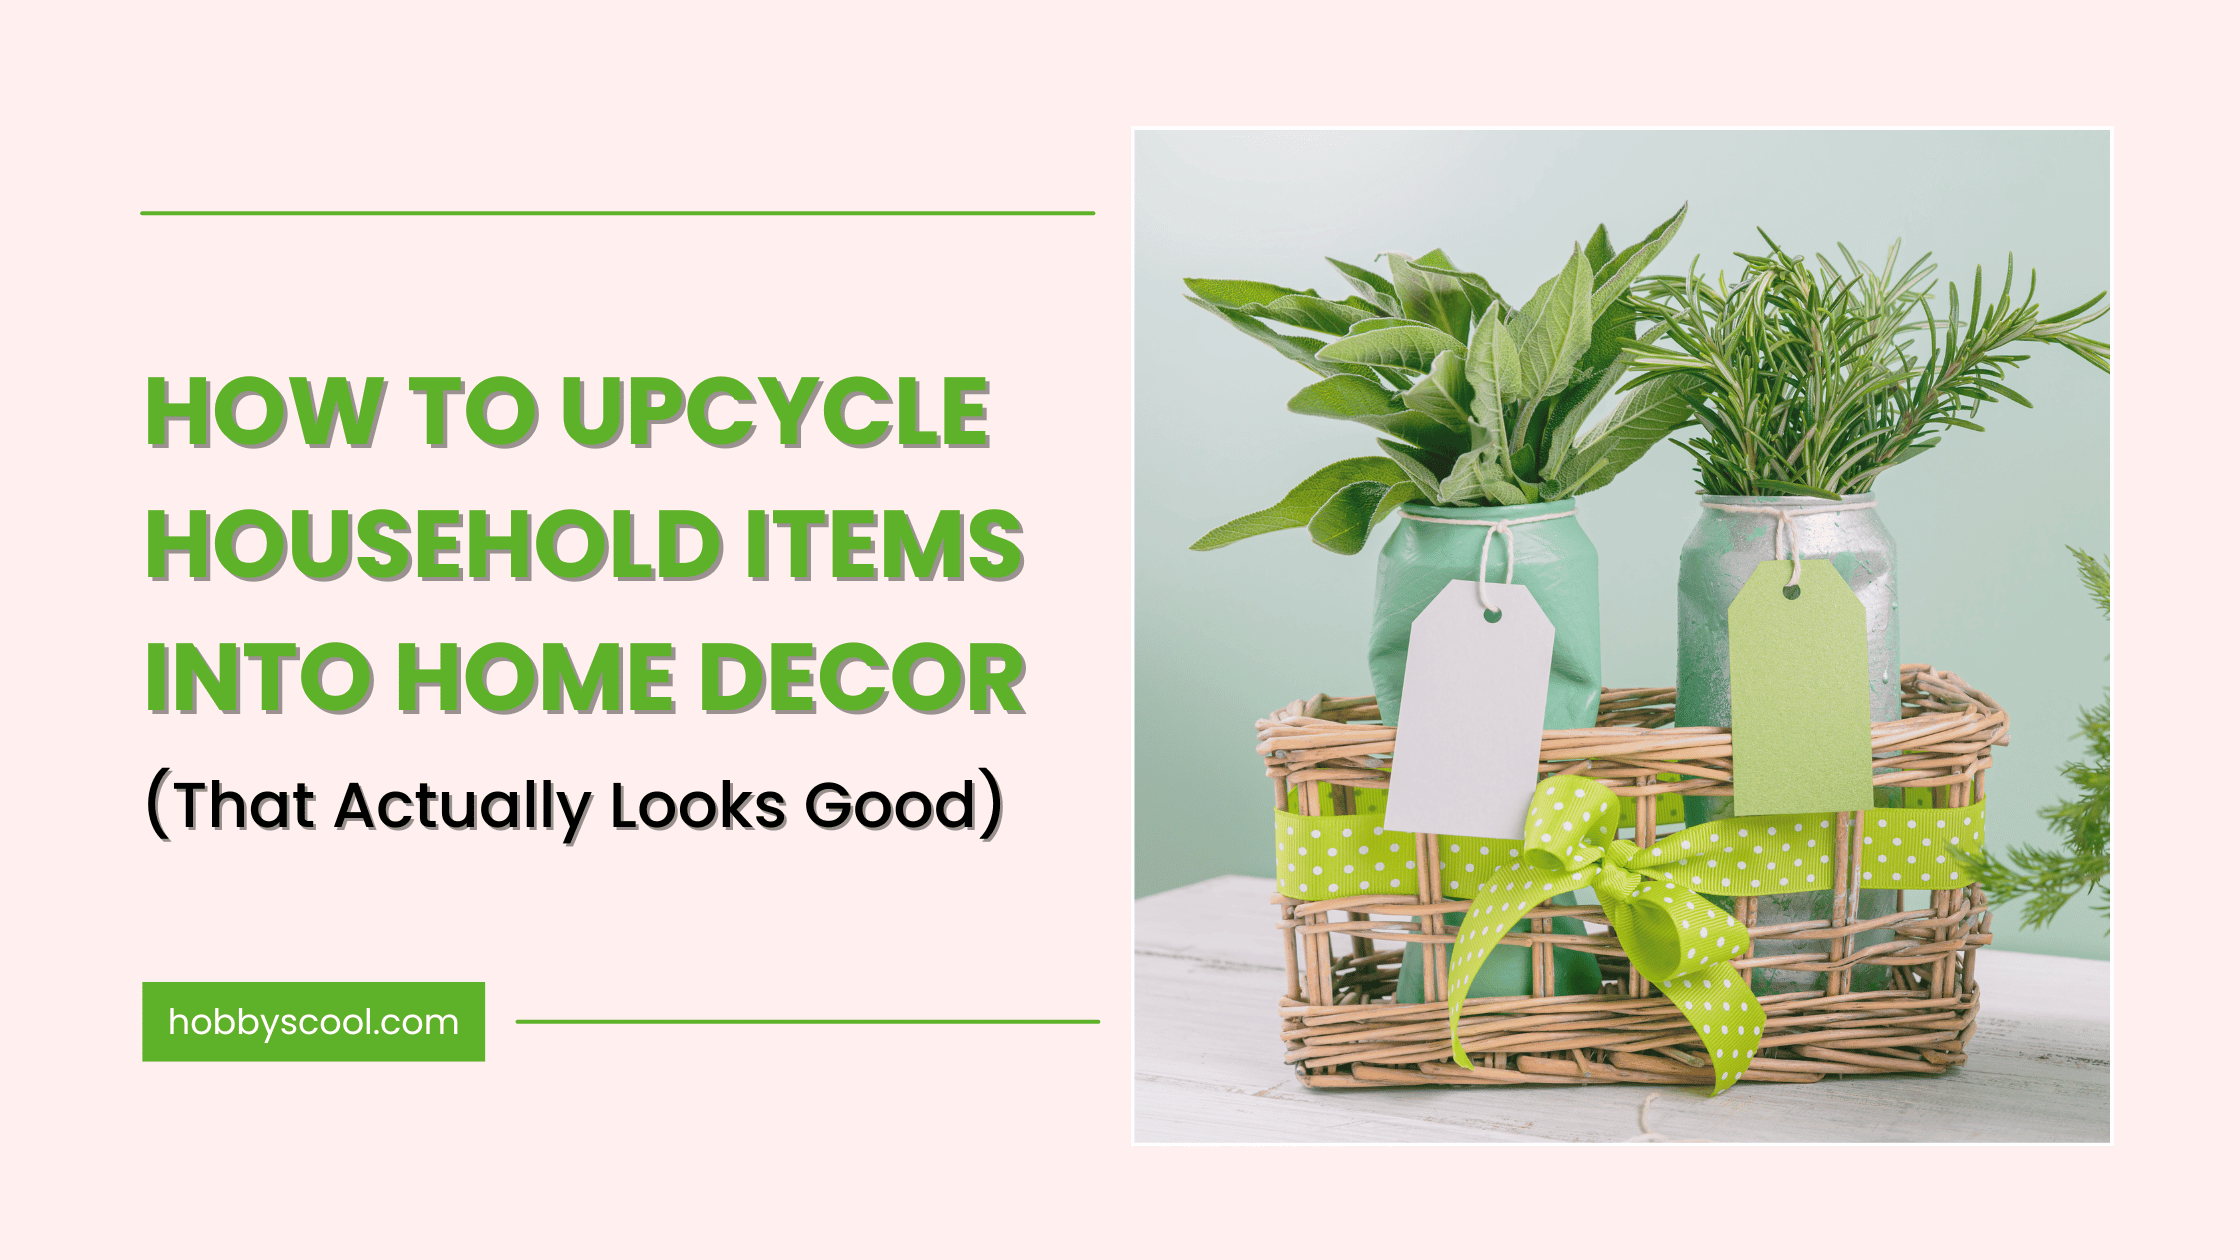
Tins and Cans
Coffee tins, cookie tins, and aluminum cans are structurally strong and take both paint and texture treatments well. Clean them thoroughly, remove sharp edges with a file, then paint or decoupage. Group them in a set of three for a cohesive herb garden on your windowsill, or use a single large tin as a utensil holder on a kitchen counter.
The Upcycled Decor Process: Step by Step
Collect with intention. Don't hoard everything — keep items that have good shapes, structural integrity, and potential for your space.
Clean and prep. Remove labels, wash thoroughly, and sand surfaces if needed. A clean, prepped surface is the difference between paint that adheres beautifully and paint that peels.
Choose your finish. Decide whether you're painting, wrapping, decoupaging, or staining — and commit to it. Pick a color or texture palette that works with your existing decor.
Apply in thin layers. Whether it's paint, glue, or sealant, thin layers applied and dried completely between coats give the most professional results.
Style it thoughtfully. Place your finished piece where it will actually be seen and enjoyed. Group similar items, vary heights, and leave breathing room.
Learn More at the HobbyScool Eco-Creative Summit
The HobbyScool Eco-Creative Summit (April 21–22, 2026) includes a dedicated workshop on Upcycled Decor Ideas You'll Actually Use — covering exactly this kind of practical, beautiful, doable upcycling with a live instructor walking you through real projects.
If you've ever wanted to stop buying decor and start making it from what you already have, this is your workshop.
