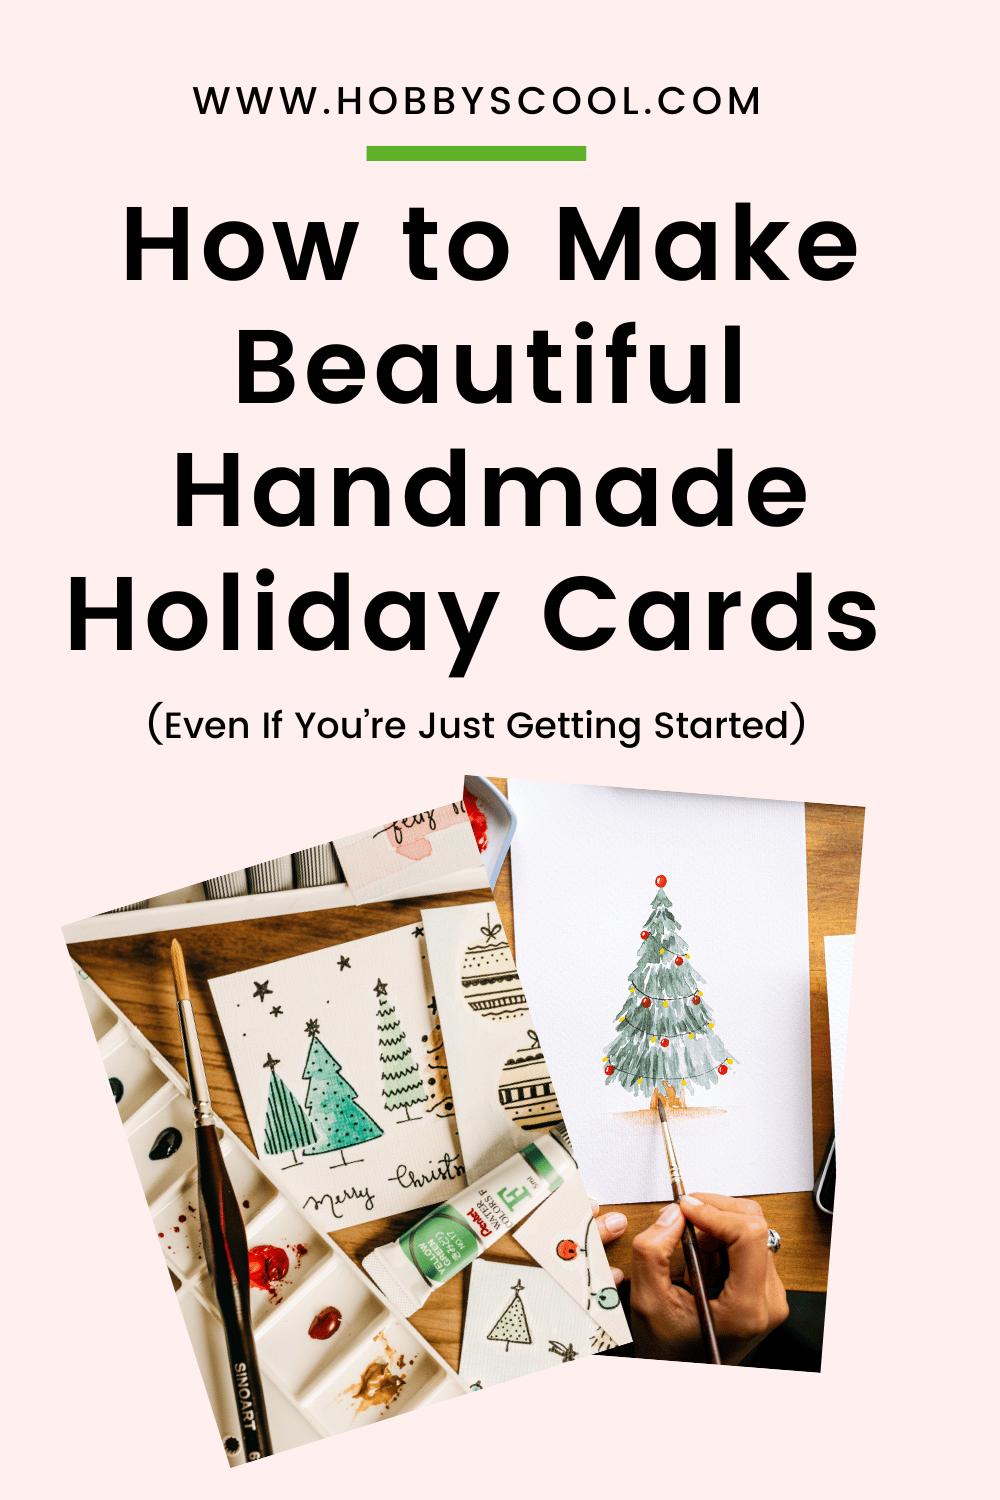
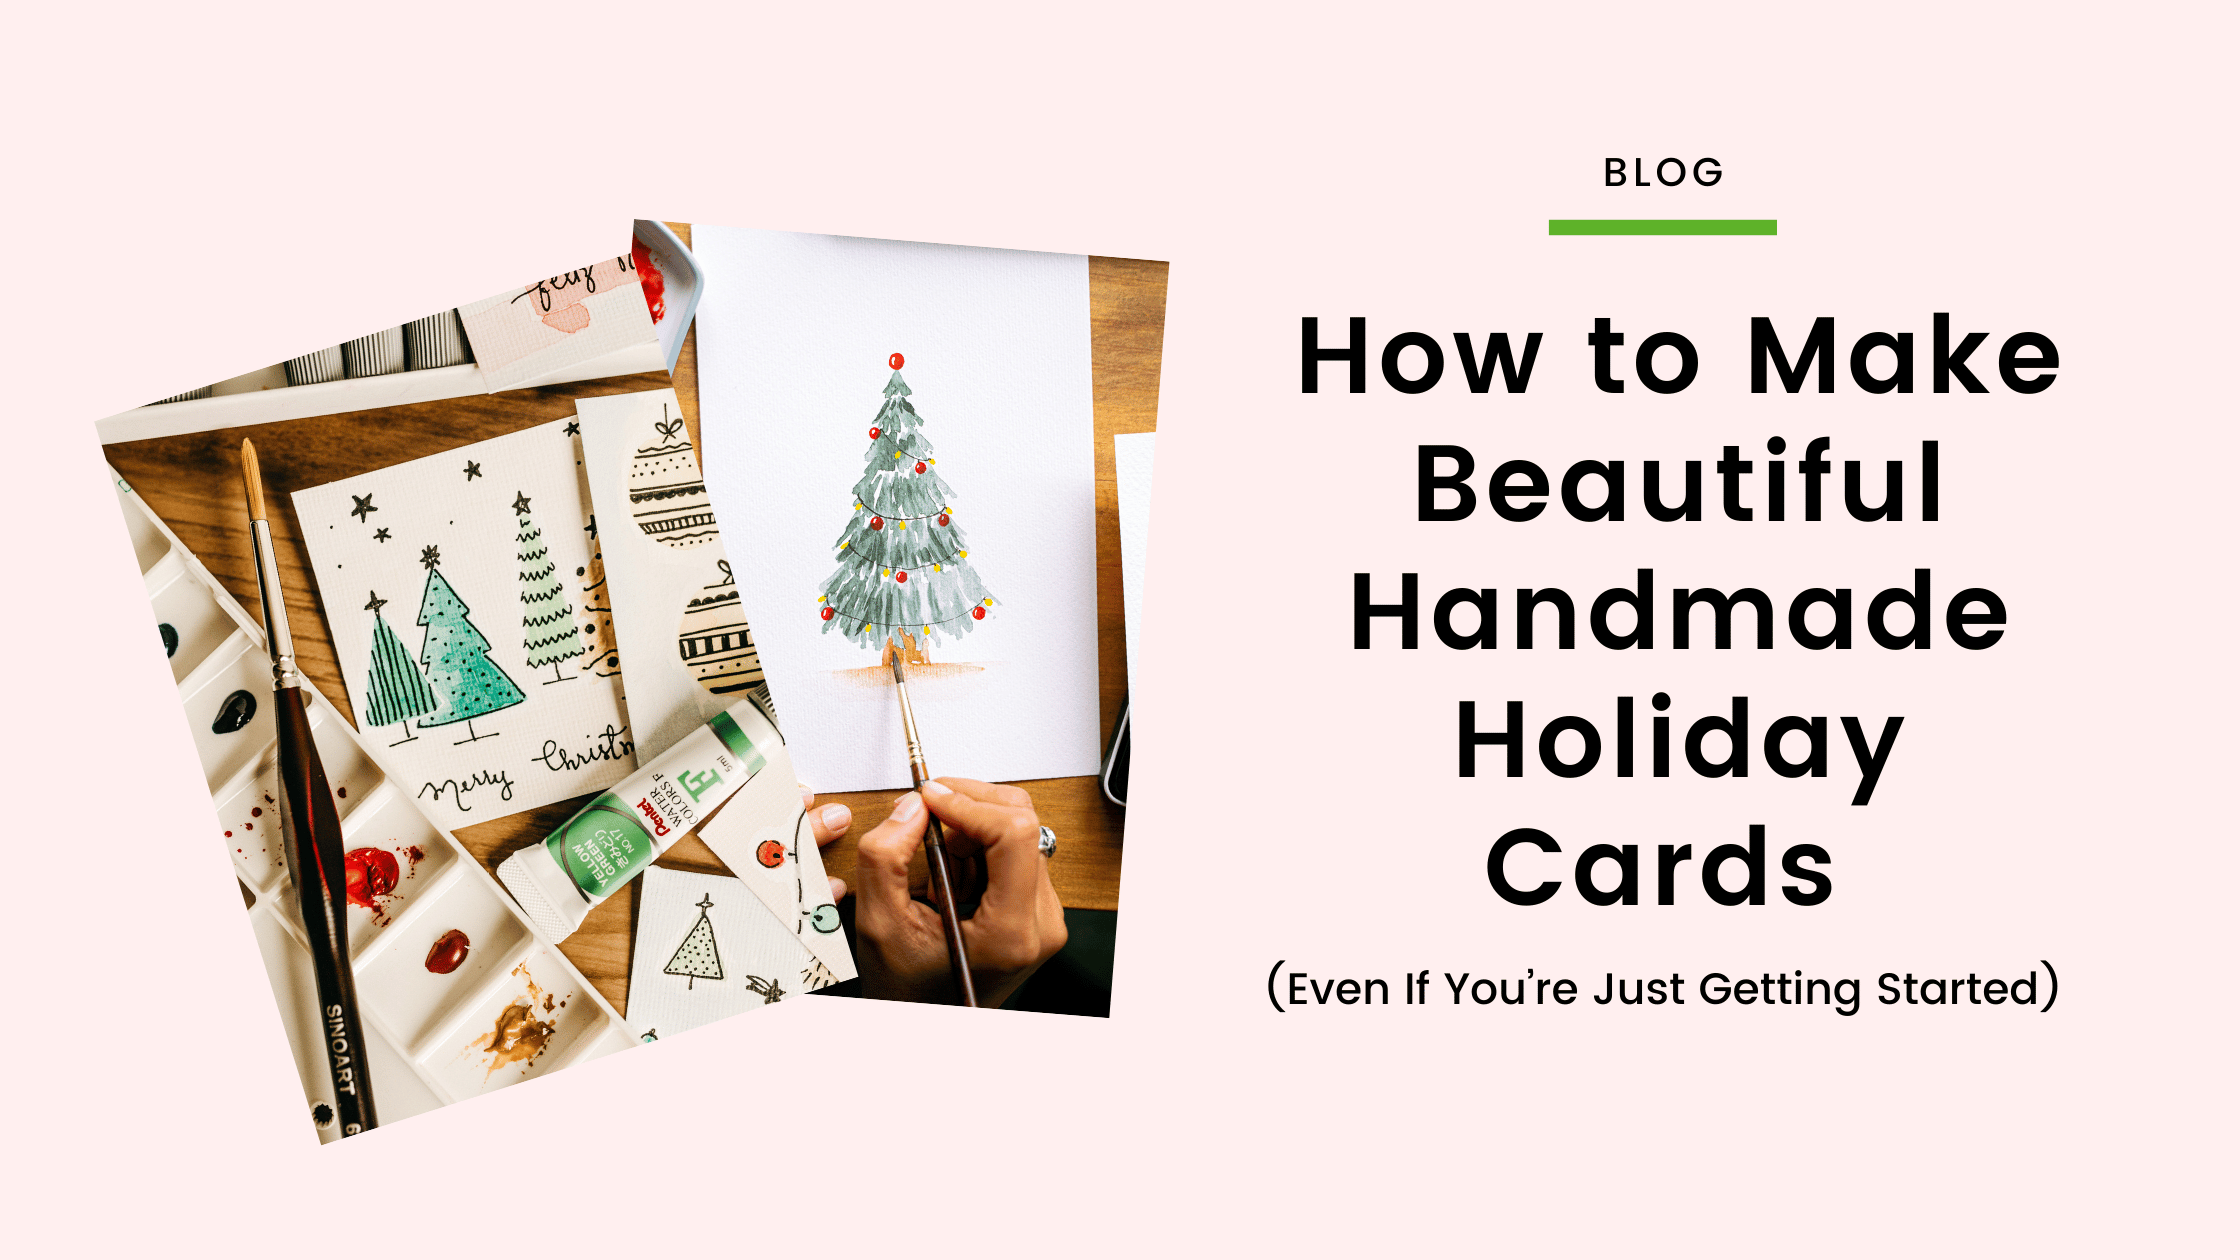
How to Make Beautiful Handmade Holiday Cards (Even If You’re Just Getting Started)
There’s something truly magical about a handmade holiday card.
In a world of quick texts and digital greetings, receiving a thoughtfully crafted card—designed with care and creativity—feels extra special. Whether you're making cards for close family or dozens of friends, this holiday season is the perfect time to turn your creativity into something meaningful.
If you’ve ever wanted to try card making (or take your designs to the next level), this guide will walk you through how to get started—plus give you inspiration, supplies, and pro tips to help your cards shine.
🎄 Why Handmade Holiday Cards Are Worth It
Holiday cards aren’t just paper and glue—they’re memories, connection, and joy. Here’s why so many crafters are turning to handmade cards for the holidays:
They’re Personal: Each card is one of a kind and can be tailored to the recipient.
They’re Creative: You get to play with colors, textures, stamps, and embellishments.
They’re Meaningful: A handmade card shows thought, effort, and love.
And the best part? You don’t need to be a professional designer to make something beautiful. Even simple cards can bring a big smile.
✨ Simple Supplies to Get Started
You don’t need a room full of crafting supplies to create festive holiday cards. Here are a few basics to start with:
Blank card bases (or heavyweight cardstock you can fold)
Holiday-themed patterned paper or washi tape
Rubber stamps and ink pads
Die cuts, stickers, or chipboard embellishments
Glue, double-sided tape, and foam dots for layering
Markers, pens, or calligraphy tools for custom messages
A paper trimmer or scissors
💡 Pro Tip: If you're feeling overwhelmed, start small. A clean card with a stamped sentiment, a pop of color, and one embellishment can look just as lovely as a more complex design.
💌 Design Tips for Creating Gorgeous Holiday Cards
Here are a few tried-and-true ideas to help your holiday cards stand out:
1. Pick a Color Palette
Go beyond the traditional red and green! Try icy blues and silver, blush pink and gold, or kraft brown and white for a rustic, cozy feel.
2. Add Layers for Texture
Use foam tape or dimensional adhesives to raise elements and create visual interest. Layering patterned paper, ribbon, or even vellum can add depth and sophistication.
3. Keep It Balanced
Design your layout so the eye naturally moves across the card. Group elements in odd numbers and anchor your design with a focal point—like a stamped image or sentiment.
4. Use Sentiments Strategically
Whether it’s “Happy Holidays,” “Peace & Joy,” or something more personal, your sentiment can tie the whole card together. Consider heat embossing, bold ink, or even handwritten calligraphy for extra impact.
5. Don’t Forget the Inside
The inside of your card is just as important as the outside. Leave room for a heartfelt note, or use coordinating paper and stamps to add a creative touch inside.
🎨 Creative Themes to Try This Holiday Season
Choosing a design theme can help your cards feel cohesive—especially when making a large batch. Here are some fun and festive ideas:
Rustic & Natural – Kraft paper, twine, pinecones, and soft earth tones
Whimsical & Bright – Think fun patterns, cheerful critters, and unexpected color combos
Vintage Christmas – Use sepia tones, retro stamps, and old-fashioned greetings
Faith-Based – Include nativity scenes, scripture quotes, or meaningful verses
Minimalist & Modern – Stick with simple lines, black and white, and subtle metallic accents
Need a shortcut? Try picking a color palette first, and then choose a theme that fits.
❌ Common Holiday Card Mistakes to Avoid
Even seasoned crafters slip up now and then. Here are some common holiday card mistakes to watch out for—and how to fix them:
Overloading the design: It’s tempting to add all the embellishments, but too many layers can feel cluttered. Leave space for your design to breathe.
Skipping adhesive tests: Always test your glue or foam tape before committing. Some adhesives can warp paper or take too long to dry.
Ignoring card balance: If your design is too heavy on one side, it may look unfinished. Step back and check for symmetry or flow.
Neglecting the inside: A blank interior can feel like a missed opportunity. Even a stamped sentiment or a coordinating pattern adds polish.
Trying to reinvent the wheel every time: Stick to a few layouts and repeat them with different papers or embellishments. This saves time and looks amazing.
📅 Planning Ahead: Make Card Making Stress-Free
One of the biggest benefits of making your holiday cards early is that you can enjoy the process without the pressure. Here are a few planning tips:
Start in July or August to give yourself breathing room.
Make a list of who you want to send cards to and how many you need.
Batch your steps: Cut all your card bases at once, then stamp, then embellish.
Use a few core layouts and rotate papers/colors to keep it interesting but efficient.
Set aside a crafting weekend or “card day” with friends or family to make it more fun.
🖌️ Want to Take Your Holiday Card Making to the Next Level?
Whether you're just getting started or looking to sharpen your skills, there’s always something new to discover in the world of card making.
From color theory and layering techniques to layout design and embellishment tricks, learning from other passionate crafters can elevate your cards—and make the process even more fun.
Let’s make every holiday season more meaningful—one handmade card at a time. 🎄