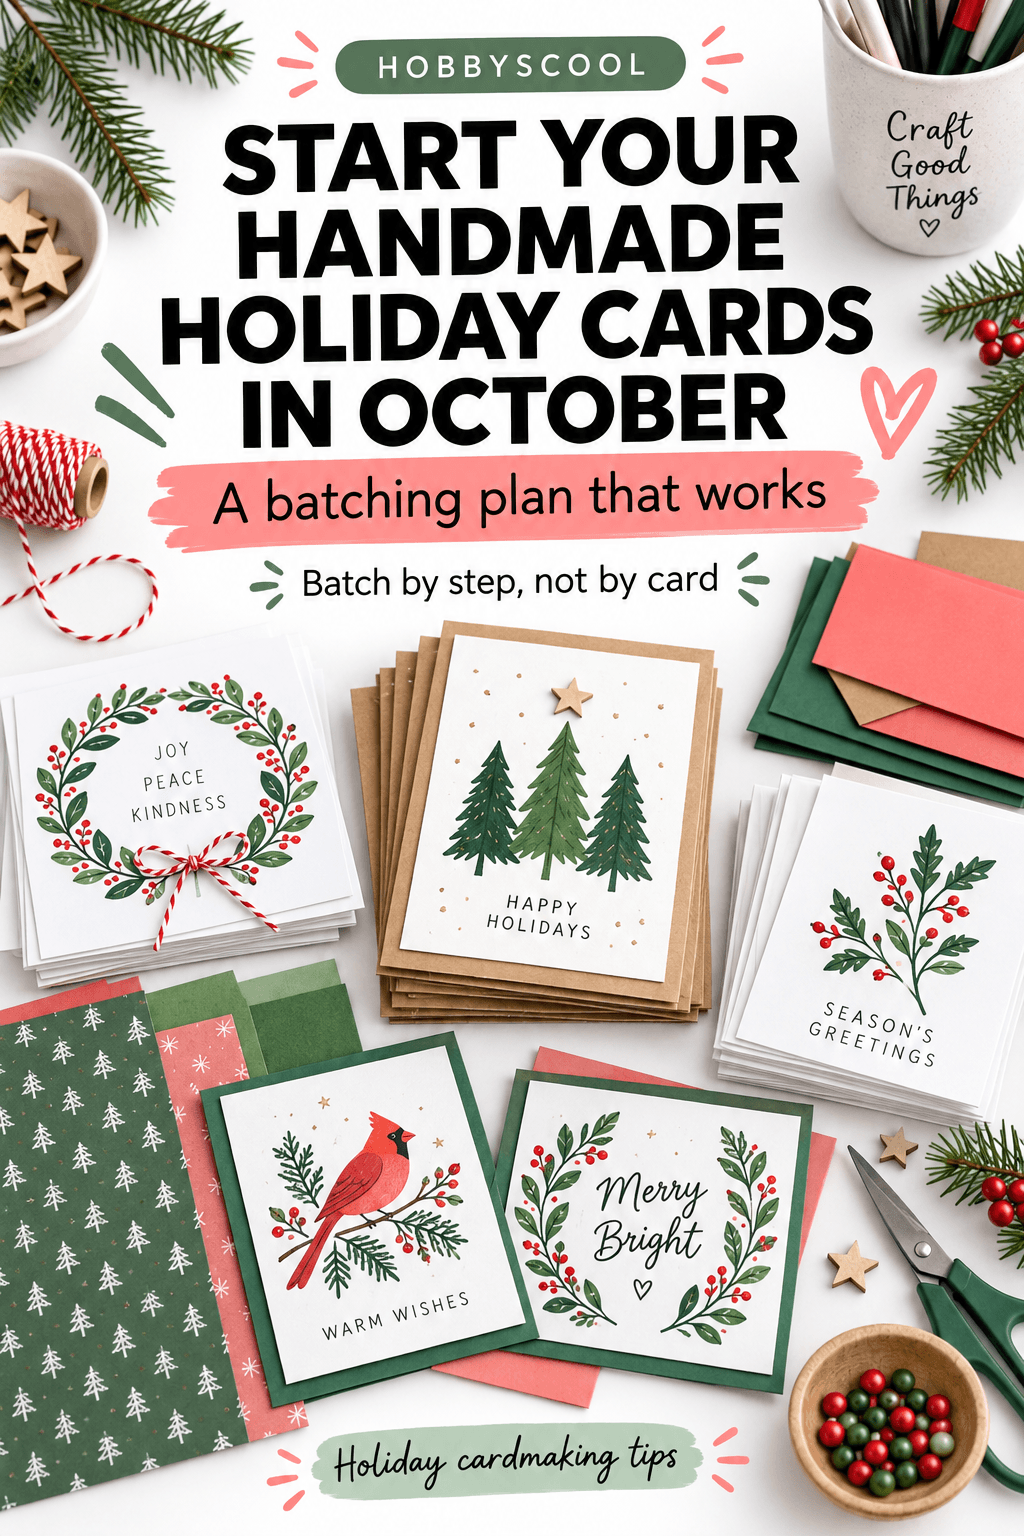
Start Your Handmade Holiday Cards in October: A Batching Plan That Works
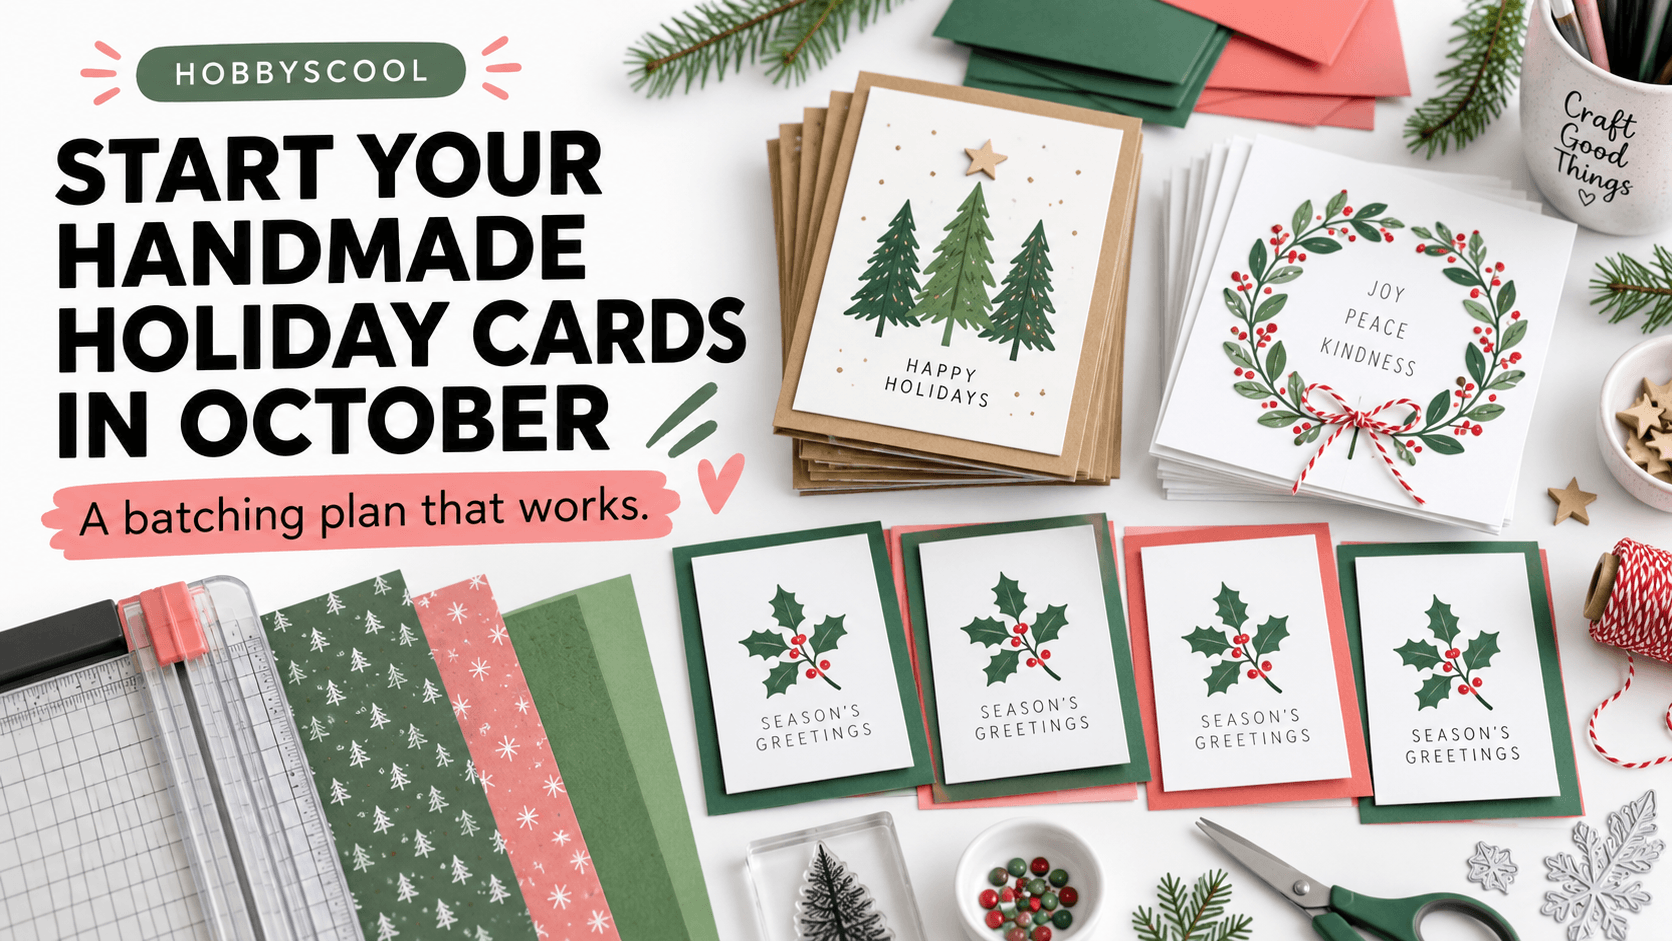
Every December the same thing happens. Around the 8th, someone gets a card in the mail, and you remember that you meant to make yours this year rather than buy them. Then you count the people on the list, look at the calendar, and buy a box at the store.
The problem isn't skill or supplies. It's that handmade cards take longer than anyone estimates, and December is the one month with no spare hours in it.
At HobbyScool, we've run free online creative summits since 2022 and our cardmaking sessions are consistently among the most attended, and the pattern in the questions is always the same. People aren't asking how to make a beautiful card. They're asking how to make thirty of them.
The Math Nobody Does Until It's Too Late
Here's roughly what 30 handmade cards costs you in time, assuming a design you already know how to make:
That's seven hours, spread across drying time, for a design you've already worked out. Add the afternoon it takes to settle on a design and make the first one, and you're looking at eight or nine hours.
In December you have maybe two free weekends and both of them already have something in them. In October you have six, and nothing is competing for them yet. That's the whole argument.
Step One: Count the List Honestly
Before you make anything, write the actual list. Not a guess, the list.
Start with who you sent to last year, then add the five or six people you always forget until a card arrives from them. Most people making handmade cards land between 20 and 40, and the number matters because it decides the design. A design that's lovely at 10 cards is punishing at 35.
Then split the list in two. A handmade group, and a store-bought group. There's no rule that says everyone gets the same card, and the people who will notice and keep a handmade card are usually a smaller group than the full list. Making 15 beautiful cards is better than making 35 rushed ones.
Mailing deadlines move every year, and international post closes much earlier than domestic. Check your postal service's current holiday shipping dates in early November and work backward from the earliest one on your list, rather than from December 25.
Step Two: Batch by Step, Not by Card
This is the thing that changes everything, and it's the mistake almost everyone makes the first time.
The instinct is to finish one card completely, then start the next. That means you set up and put away your cutting tools 30 times, your stamps 30 times, and your adhesive 30 times. The setup is most of the work.
Do it the other way. One step, all 30 cards, then the next step.
- Cut every card base. All 30, one session, one tool out.
- Cut every layer and panel. Same idea. Stack them by type.
- Stamp or print every panel. If you're heat embossing, this is where the time goes, so put on something to listen to.
- Assemble. Glue in an assembly line across the table, left to right, and let them dry in rows.
- Add sentiments. Last, because this is where a slip ruins an otherwise finished card.
- Address and stuff envelopes. A separate session, ideally on a different day.
Done this way, card 30 takes about as long as card 5. Done the other way, card 30 takes longer than card 1 because you're tired of it.
Step Three: Pick a Design That Survives Repetition
Some techniques are a pleasure once and miserable thirty times. The difference is whether the step repeats cleanly and whether it dries fast.
Five techniques that batch well
- Stamped and heat embossed panels. Fast, dries instantly, and looks expensive. The most repeatable technique in cardmaking.
- Die cut layers. One pass through the machine cuts several at once, and every piece comes out identical.
- Simple watercolor washes. Paint 30 panels in one sitting while the first ones dry. Variation between them is a feature, not a flaw.
- Stencilled backgrounds. One stencil, one blending brush, thirty panels, almost no drying time.
- Die cut sentiment strips. Cut a long strip, chop it into sentiments, and you've done thirty at once.
Two things to avoid at volume
Heavy fussy cutting. Cutting around a detailed image by hand is lovely on one card and takes four hours across thirty.
Thick wet adhesive. Anything that needs to sit and dry under weight means you need thirty flat surfaces and a lot of patience. Foam tape and tape runners keep the line moving.
One thing people forget until the end
Check the envelope before you finalize the design. A card that ends up a quarter inch wider than a standard envelope means either trimming all 30 or hunting for envelopes in an unusual size in December, and both of those are worse than they sound. Cut one base, fold it, and put it in the envelope you plan to use before you cut the other 29.
It is also worth weighing a finished card at the post office if your design has layers, foam tape or embellishments on it. Thick handmade cards can cross into a higher postage rate, and finding that out with 30 sealed envelopes in your hand is a bad afternoon.
A Realistic October Timeline
If you start this month, here's what it looks like without any single day being heavy.
Decide and prototype
Write the list, pick one design, make exactly one card start to finish, and time yourself. Multiply by your list to find out what you've committed to.
Cut everything
Bases, layers, panels. Two hours with something on in the background. Stack and store them flat in a box.
Stamp, paint, emboss
The longest session. Everything gets its surface treatment and goes back in the box to dry.
Assemble and finish
Assembly line across the table, sentiments last. By the end of October the cards are made and the only thing left is writing them.
That leaves all of November for addressing, writing, and the international post going out early, which is the part that actually causes the December panic.
Learn the Techniques Free This Month
Day 2 of the free Festive Fall Workshop Series is the paper and fiber day, and several of the sessions carry straight over into holiday cards. Toni Chowdhury teaches a bay window card with floating elements, Adeline Ma covers scrapbook pockets and layers, Megan Chamberlin teaches simple paper folds, and Brandi Kabacinski walks through putting photos inside clipart frames in Canva, which is useful if you want a photo card without paying for a photo card.
It runs October 13 to 15, 2026, registration is free, and each day's workshops stay open for 24 hours. Watching on the 14th still leaves you the back half of October to make everything.
Learn the card techniques free in October
26 workshops across three days, October 13 to 15, 2026.
Get My Free Seat See the Full LineupThe Short Version
Count the list, split it into handmade and store-bought, pick one design that repeats cleanly, and batch by step rather than by card. Four sessions across October gets 30 cards made with November free for writing and mailing. The people who send handmade cards in December are the people who made them in October.
Frequently Asked Questions
When should I start making handmade holiday cards?
October is the right month for most people. Making 30 cards takes roughly six to eight hours once you count cutting, assembling, drying time and addressing, and October gives you six weekends before the first mailing deadlines instead of the two you have left in December.
How do you make a lot of handmade cards quickly?
Batch by step rather than by card. Cut every card base, then every layer, then stamp every panel, then glue, then address, so you set up and clean up once per step instead of once per card. Pick one design and make it in multiples rather than making each card different.
How many handmade holiday cards should I plan to make?
Count the people you sent to last year and add five for the ones you forget. Most people making handmade cards land somewhere between 20 and 40, and it helps to split that list into a handmade group and a store-bought group rather than trying to hand-make every single one.
What cardmaking techniques work best when making many cards at once?
Techniques that repeat cleanly and dry fast: stamped and heat embossed panels, die cut layers, simple watercolor washes, stencilled backgrounds, and die cut sentiment strips. Avoid anything with a lot of individual fussy cutting or thick wet glue, because those are the steps that make card 20 take three times as long as card 2.
Where can I learn handmade cardmaking techniques for free?
The free HobbyScool Festive Fall Workshop Series on October 13 to 15, 2026 has a full Paper and Thread day. Toni Chowdhury teaches a bay window card with floating elements, Adeline Ma covers scrapbook journal pockets and layers, and Megan Chamberlin teaches simple paper folds, all of which carry straight over into holiday cards.